

Any time you buy new gear, you quickly realize you need some supporting tools and fixtures.
Even though this milling machine has a large vise, there are times when you need to clamp the work piece directly to the table, and fortunately I already had a clamp set from my mini-mill:
The way this set works is to begin with a "T-nut" that slides into the milling table, and then use the various studs, nuts, and other fixtures to securely clamp the work. Unfortunately, the T-nuts in this set are sized for the mini-mill, and are too small to work effectively in the much larger Index table. Here's a photo of the small T-nut, with one of the studs threaded into it:

No problem, I thought - I'll just jump on eBay and find some 5/8" T-nuts for the Index table. There were plenty, and they were cheap enough, but none of them were threaded for my 3/8"-16 studs. When you scale up, everything gets bigger! No problem, I thought - I'll just buy the bigger T-nuts, cut some 1/2"-13 studs and use that. But no... a 1/2" stud won't fit through the slots in the smaller set's fixtures.
I could have bought a complete clamping set with the right T-nuts for about $75, but that seemed silly when I already have a set that would work fine. I decided to make my own T-nuts with the proper thread, and to make them to precisely fit the table I own instead of the "sloppy" generic nuts. Straightforward, if time-consuming. and after a couple of hours I had a nice set:

Notice in the one closest to you in the picture that I stopped the threads short of the bottom, so the stud can't pass through and damage the milling table. Getting the dimensions was a "measure and try" affair, but after the fact I made a nice drawing so I can duplicate them in steel later. These are aluminum, because that's what I had lying around. The fractional dimensions like "7/8" mean "something close," while the decimal dimensions are exact.

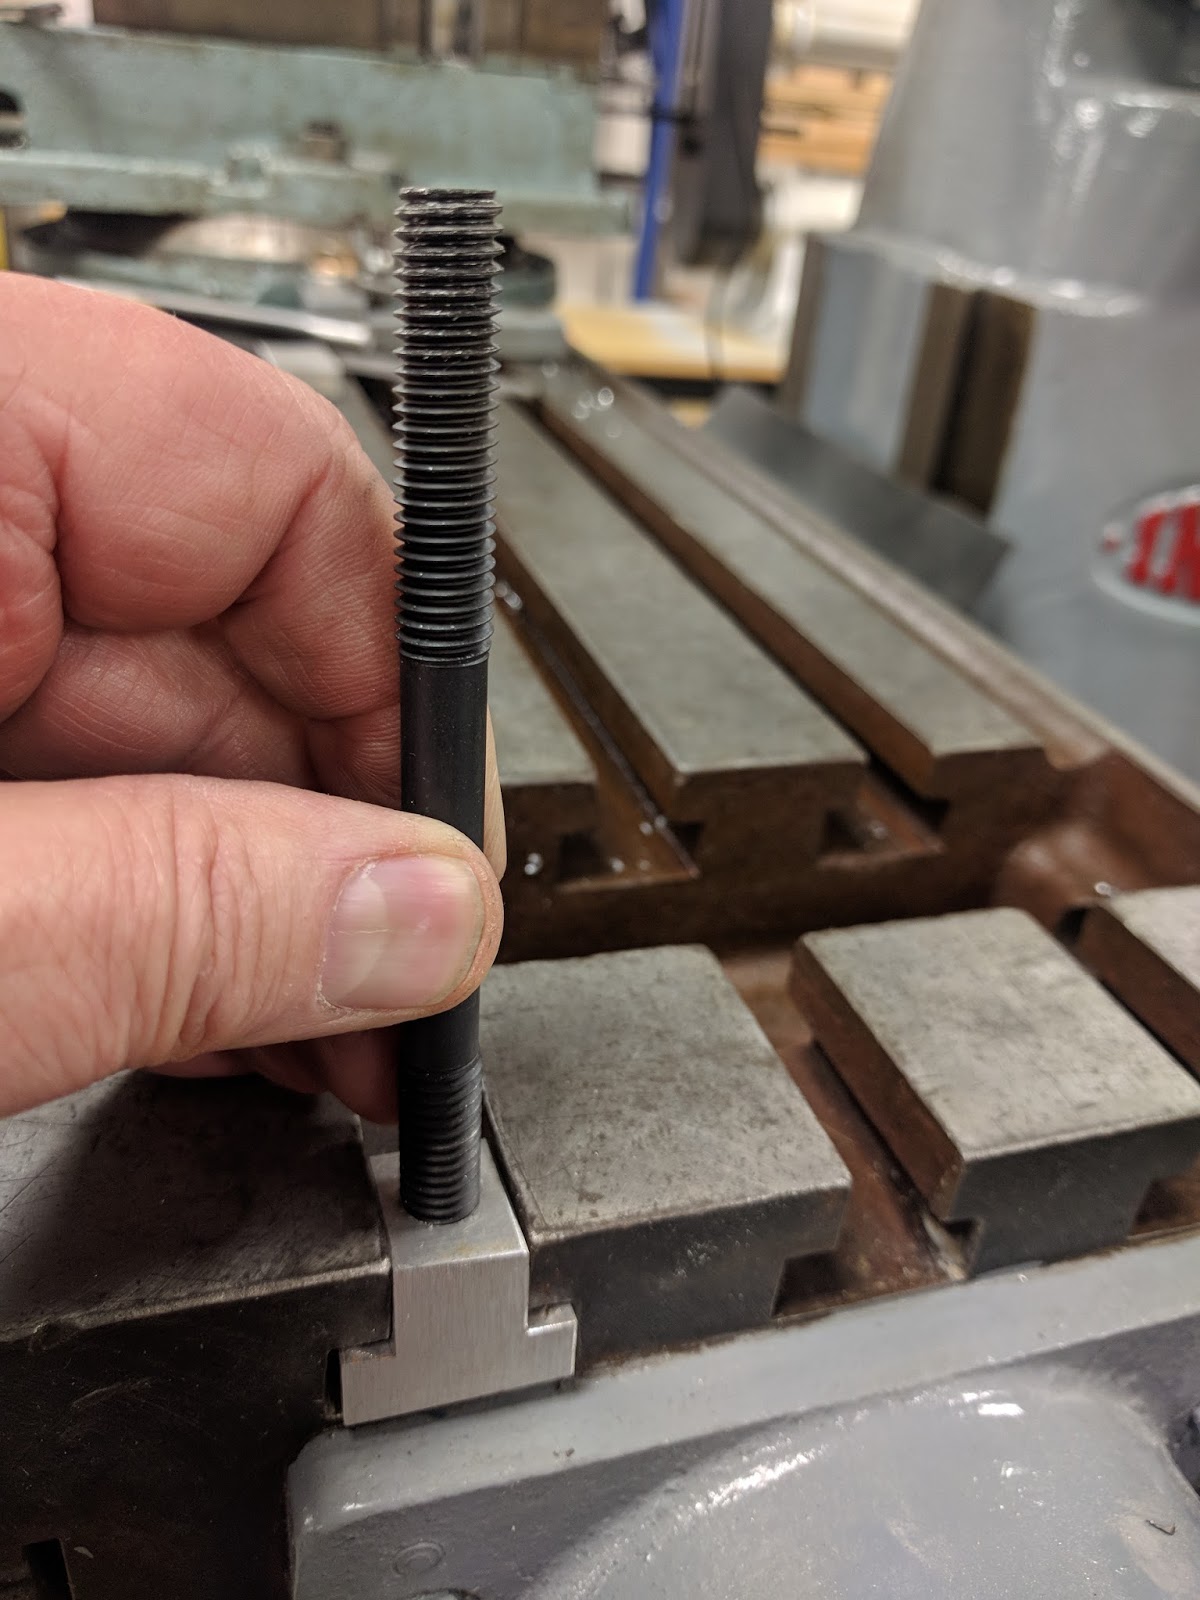
Here's a stud threaded into the new T-nut, held in place so you can see how it fits in the table. The 0.475" dimension is so the top of the T-nut sits just below the table top.
One more photo, showing a right-angle fixture clamped to the table. In use, it would always be farther in, but this way you can see how two T-nuts in a row will securely clamp this fixture.

If I needed to put any sort of reasonable value on my time, it would have been much smarter to buy the $75 set, but since this is a hobby, I spent essentially nothing and got to play with my new machine to boot!
It seems I never have enough T nuts because I tend to dedicate them to specific equipment like rotary tables. So I've made quite a few myself, not on your scale, though.
ReplyDelete