

Unfortunately, his was broken. The upright portion rests on two rubber posts, and they were both broken off. However, he still had the pieces. He asked if I could fix it, and I said I'd try. It looked like it would be easy to drill through, insert screws, and stitch it back together.
Well, today I tried, and not so easy! The rubber made it difficult to align the drill, the target on the inside was very small, and I needed smaller, longer screws than are readily available. I tried, and failed.
However, in the process of failing, I realized that the posts were designed to be removed - there was a plastic clip holding the post in place. Removed, it looked like this (of course, it shouldn't be in two pieces):

"Those clever Germans!", I thought. "They made this to be replaceable as a service part." Turns out I gave the Germans too much credit. I called Autohaus, and the answer was, "Not available. The only option is to buy a new wind blocker." I protested that a new blocker costs $300, and he agreed.
I mused aloud, "Well, I'm a machinist - I guess I'll just have to duplicate it in brass." The parts guy paused, and then said in a thoughtful tone, "Well, that would permanently fix THAT problem." I got the distinct impression he had heard this story before, maybe multiple times.
I started by super-gluing one of the posts back together, so I would have something to measure. Then I drew a rough measured drawing:

I chose a piece of brass, 0.251" thick, and proceeded to make it match the 0.236" dimension:

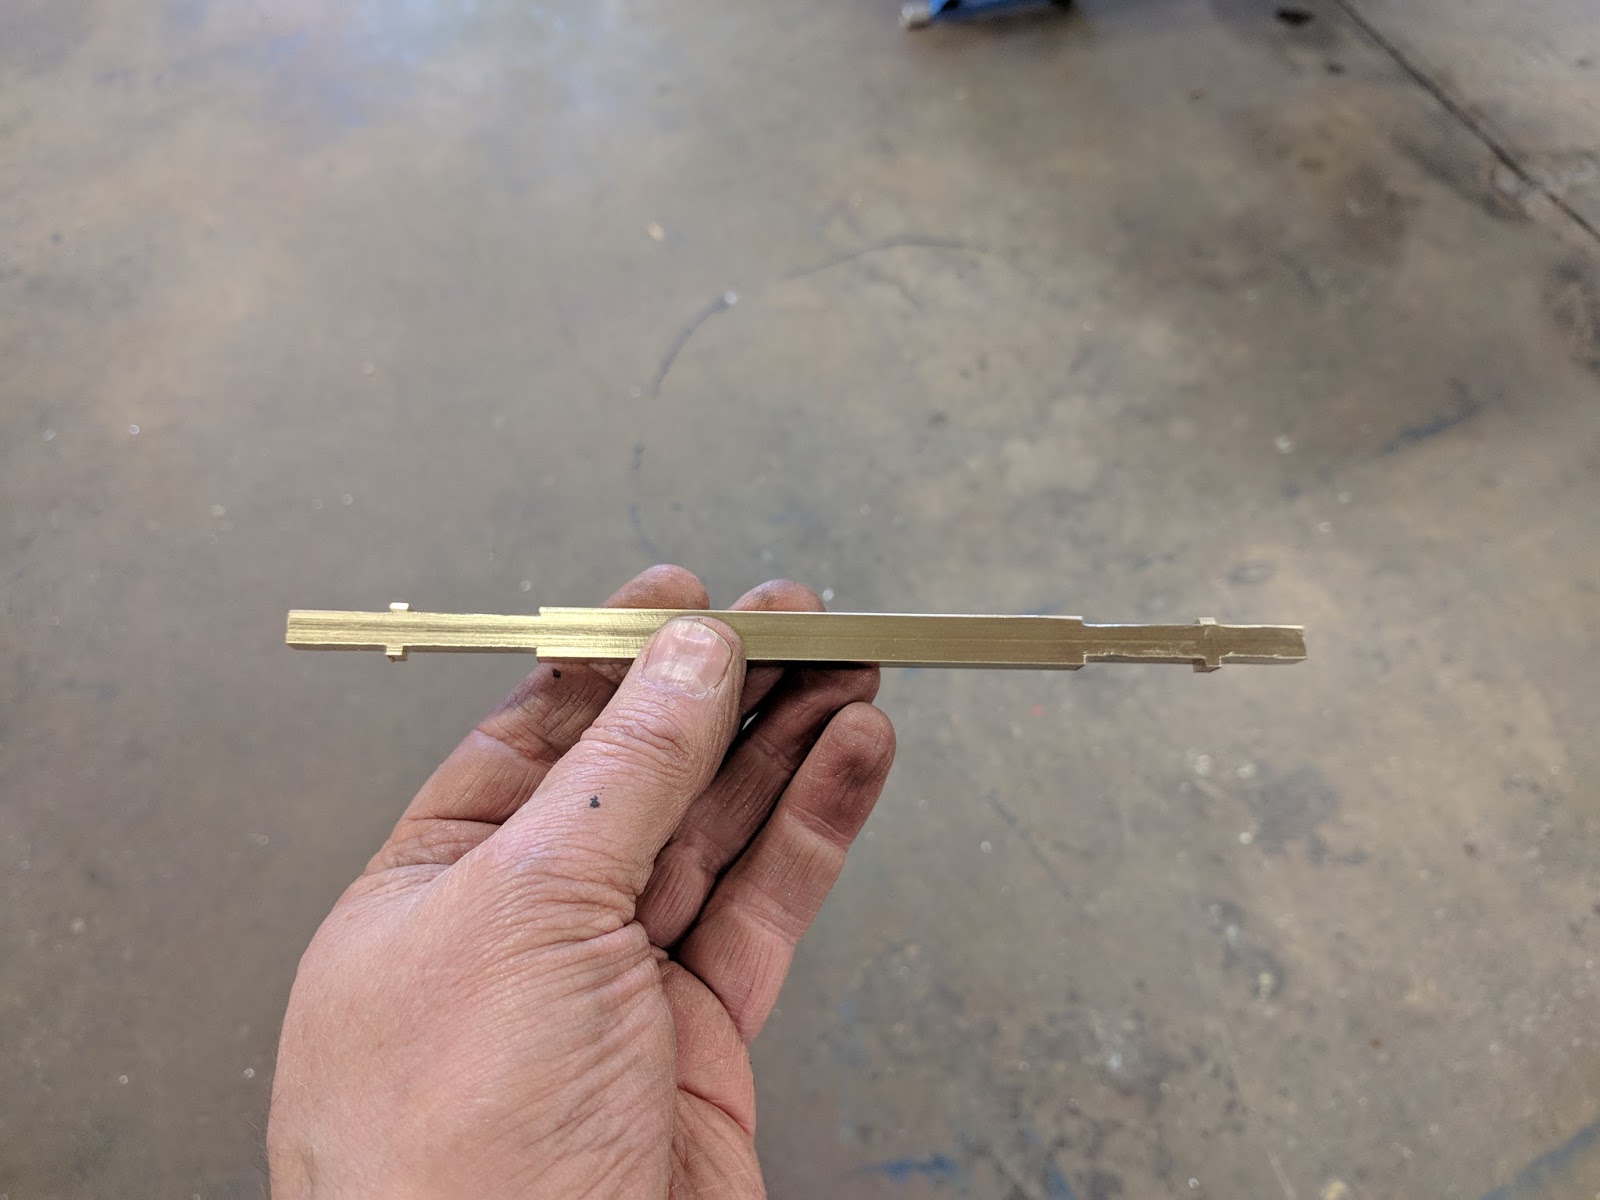
It's much longer than necessary, because I assumed I would mess something up and need stock to make a replacement! Turns out I didn't, but having the extra length turned out to be helpful in the milling process anyway. Once I got it the right thickness and square, I started milling the notches, one piece on each end. Once the first edge of one end was done, I checked against the original to make sure my measurements were right:

Once I got that edge done, I cut the piece to rough width lengthwise on the band saw, and continued on the other side. Eventually, I had a long piece that had a post on each end:
I cut the two ends off, and started the process called "hand fitting." That's just a fancy name for "belt sanding until it will fit in the hole." I had originally intended to try to match the small, angle-sided notch for the retaining clip, but because of its small size, the only way I had to make it was hand filing. I didn't have the patience for that, and my brass solution is presumably permanent anyway - I just glued it in with super glue:

This was an interesting diversion, but any pro machinist would have charged enough that it would have been cheaper to just buy a new one. But since when I say I'm a "machinist" I still use the air quotes, my time is not worth anything anyway. I was glad to have rescued a manufactured item from the dumpster!
No comments:
Post a Comment