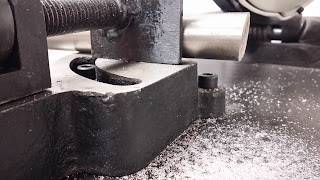
Of course, it wasn't quite like this when I got it.
The vise was off the machine and in a pile of bits, and the feet were missing because it had been mounted on a stand. I received some rubber feet but no hardware to mount them. That was the first task, to use the lathe to make some custom-fit standoffs that the rubber feet would slip over:
Once done, I could mount them on the saw (fortunately I had the right M6 X 25mm bolts in stock) and slip the feet on. Job done, and it worked great - level, steady, non-slip.
Then for the harder part - fixing the vise. The part that sheared off was a post for the vise screw, and looking at the remainder, it was easy to see why - the cast iron was so porous it looked more like sand than metal!
I put the yoke in the mill and aligned the end mill by eye. A light test cut showed the alignment was good, but also highlighted just how bad that cheap Chinese junk was. Look how crumbly the metal is:
Another problem was that the original post only extended into the yoke for a short distance. I elected to drill it right through to 1/2" (my largest drill bit) and then mill through to the final 5/8" diameter:
I made a new post out of carbon steel, which ain't gonna snap. The rest of the vise will fall apart around that! I epoxied it in place with JB Weld, and left it overnight:
Today, I reassembled the screw mechanism, and was ready to test.
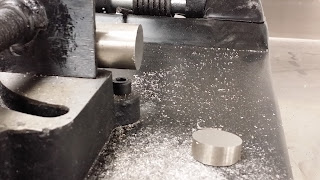
You can see the reassembled saw as the first picture in this post. After a successful first cut on a small piece of aluminum, I decided to give it a workout. This piece of steel rod, one inch in diameter, had a very crooked cut on the end:
It took less than a minute to slice through, and it looked pretty straight:
Better to be sure - it's a great cut! I like this little saw! Many thanks to my benefactors who cast it aside in the first place. I already have some interesting ideas on how to improve it, including a much better vise in place of the one I just fixed.


I knew this saw found a good home when it left the IC. Nice restoration work.
ReplyDelete