

I was really pleased with the performance of that carb stand - it made the work much easier! I also came up with another crazy setup to test the carb, using isopropyl alcohol instead of gasoline. Here it is - the brass valve near the carb allows me to stop the flow without wasting the contents of the funnel. Turns out the whole mechanism still leaks a bit - funnels aren't designed to have their flow stopped at the nose!

I really thought I was on the right track, because with this setup, the alcohol flowed through the carb, but I could push up on the float and stop the flow. Even better, I reinstalled the bottom cover and used the test jig to fill the carb, and it filled the float bowl, but did not overflow. Based on that test, I reassembled the carbs and reinstalled them on the car.
I hooked up the gas lines, turned on the key to energize the electric fuel pump, and waited. If it all was working, the gas would fill both carbs, and then the pump would shut off. But instead... gas ran out of the front carb's overflow vent in a steady stream. Boy, was I disappointed!
Further reflection and research led me to believe the spring in the needle seat is weak enough that it can be overwhelmed by the modest 3.5 PSI fuel pressure from the pump. Turns out that's common in an SU HIF4 carb. I bit the bullet and ordered just over $100 in parts to rebuild the fuel assembly in both carbs. You should always do both if you do one, to keep the carbs in sync. Still waiting for those parts to arrive.
While waiting, I decided to make an overflow tank so that if this doesn't work, at least I won't have yet another puddle of gas on the shop floor. Besides, I felt like playing with my lathe:

That's a nice bit of 3/4" brass rod, already drilled through 3/16". Here I'm turning a neck that will eventually be 1/4" diameter to fit the fuel line. The next section back is for threads. Once it was all done, I had this pretty little thing:

The lower shank is threaded 1/2-13 to match a standard nut. This has to be a contender for the fanciest piece ever explicitly designed to fit a Turkey Hill Diet Green Tea bottle:

I added a vent hole in the blue cap, and installed a piece of fuel hose. It's ready for use once the carbs are reinstalled.
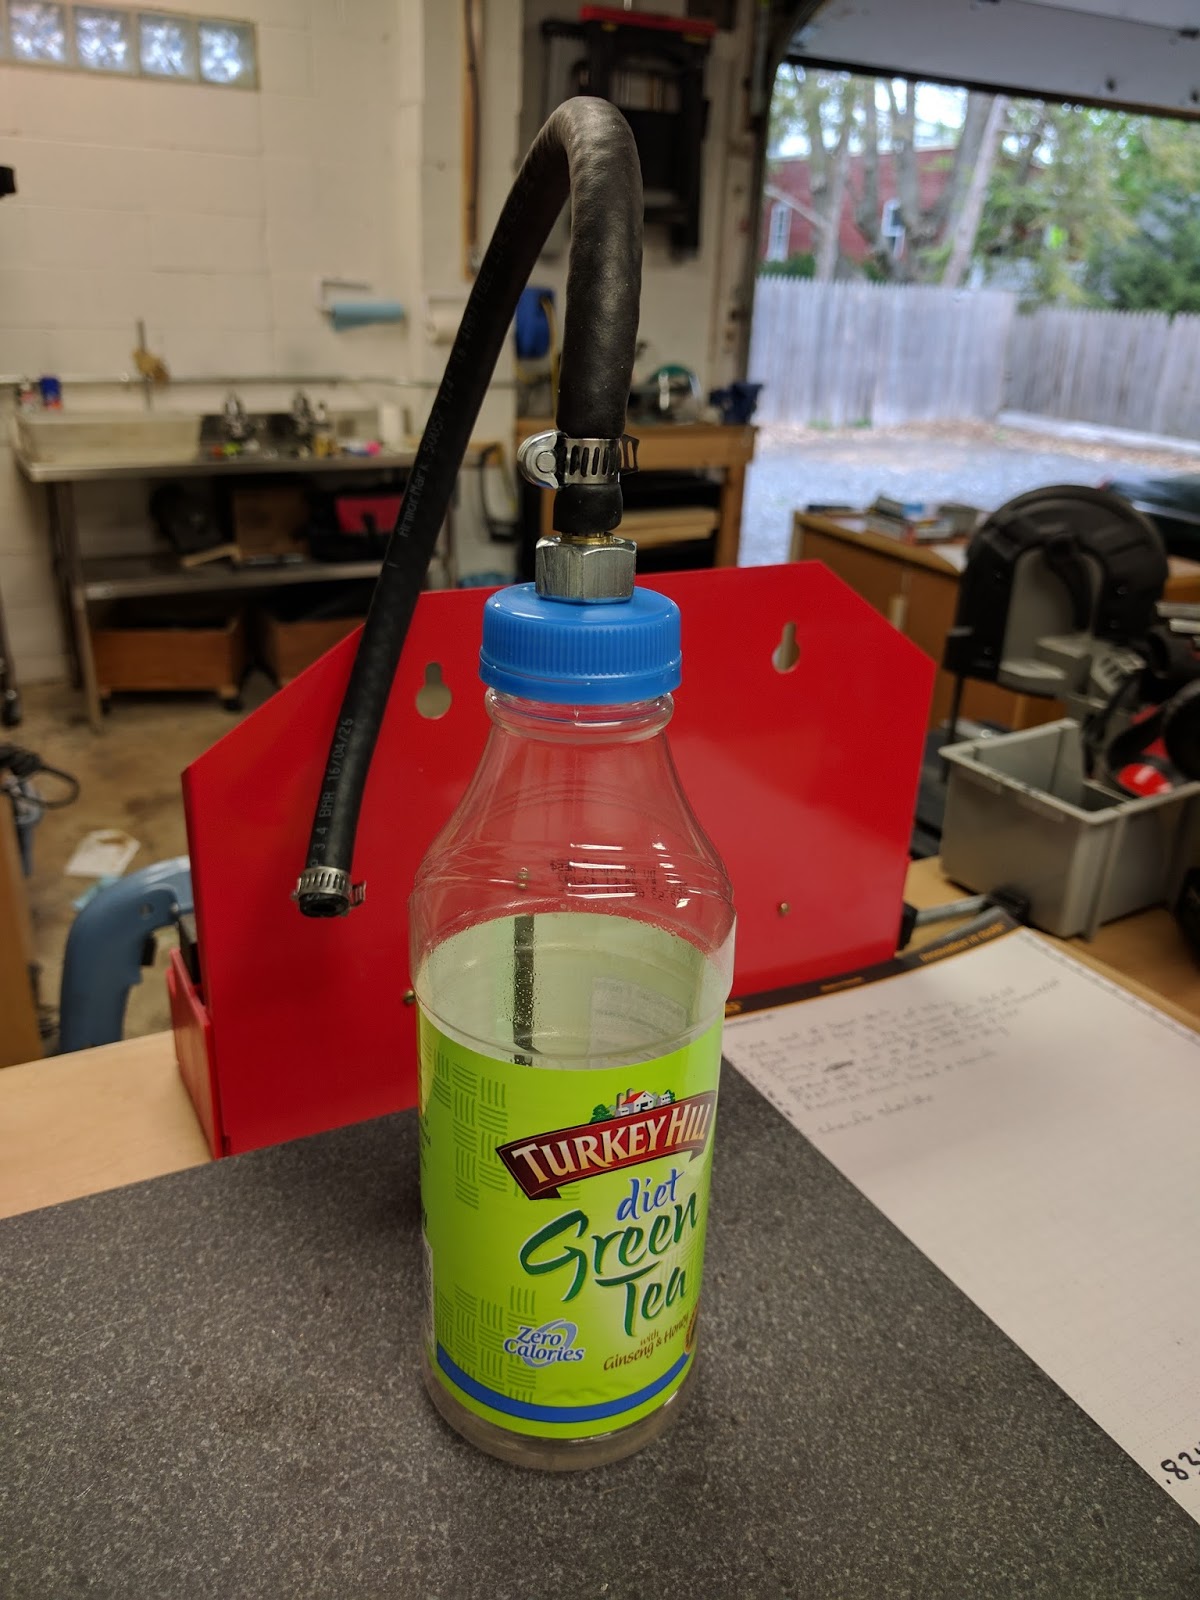
I'll use the stock pipe that connects the overflow vent of the two carbs, and attach this to the outlet. That way I can quickly see if the carbs still leak, before the leak floods the emissions control system again. Stay tuned!
No comments:
Post a Comment