

It was a neat design from Woodsmith magazine, featuring a thick MDF (medium density fiberboard) top edged with hardwood, a woodworker's vise, and multiple holes for clamping. In the magazine, the bench was mounted on a lift table, making it height adjustable. As you can see above, that feature didn't make it into the final bench - read on to see why.
The first order of business was to glue up the MDF top. When gluing multiple layers of sheet goods like that, it's impossible to cut the pieces to exact size and then glue them. You just can't keep the edges aligned, and there's always a lot of glue squeeze-out. But there's a trick that always works: cut the top layers a little oversized, and then make the bottom layer a bit larger than that.
It's important that the corners of the bottom layer are square, because you run that layer along the tablesaw fence when trimming. Once you're done, you have a perfect slab with even sides and square edges.

My metalworking mill was put to work making a template to guide my router in cutting some inch-wide clamp slots. Cutting the "brown stuff" on a metalworking machine is a sin, but I do it anyway. There's no better way to make a precise jig like this one:

In the photo above, I'm using a one-inch Forstner bit to mark the center of the curves at each end. Then I removed the template and drilled clearance holes with a 7/8" spade bit, held in a drill guide:
After that, I could reinstall the template and use two different router bits to cut the slots. Since the bench top is 2 1/4" thick, I first had to route with a top-guided bit from the top, and again from the bottom. Then I made sure everything lined up perfectly by re-routing top and bottom with a very long, bottom guided bit:

I used a different template to lay out the many holes for the bench dogs, and then used the drill guide again to cut all of them:

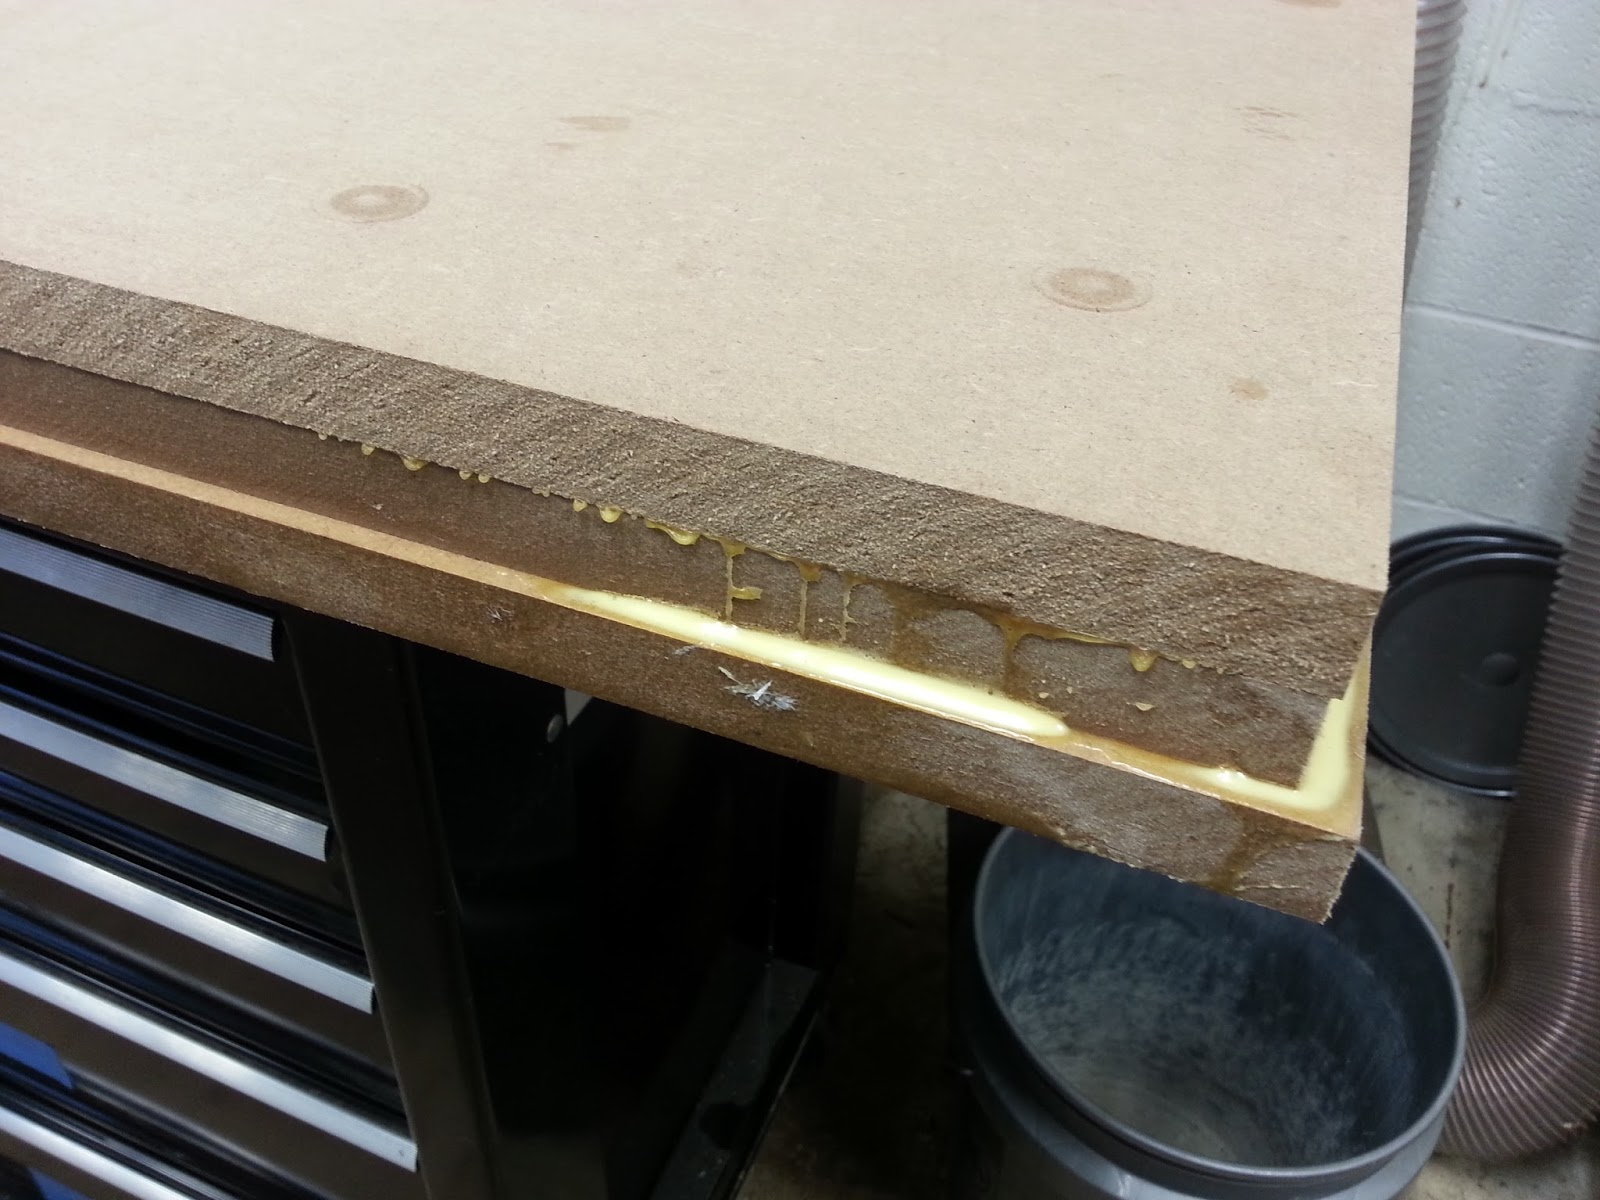
Finally, it was time to start edging with hardwood. The plan called for edging 1 3/8" thick. I didn't have any stock that thick, so I first glued up oak boards and planed them to the right thickness. I needed to miter the edging - probably the thickest stock I've ever mitered. I had to realign my chop saw to make it perfect.

Just as with the layers of the top, it's impossible to exactly align the edging to the face of the bench, so I had to make it a bit taller and then remove wood until it was flush. I tried several methods, including a terrifying experiment with that long guided bit seen above. I finally build the fixture below,which worked really, really well. The router has a 3/4" straight bit in it, and the underside of the fixture (under the router) is relieved so it will fit over the lip in the edging. The heavy chrome weights on the back side counterbalance the router so it won't tip. I was able to adjust the bit to just a few thousandths of an inch above the MDF, and rout away the excess. The tiny bit remaining was easy to sand off.

With the top completed, I was able to flip it over, install the woodworking vise, and start building the base. I didn't like the design of the base in the magazine, so I made my own.

Finally, I could try the bench on the lift table, and found out that it just didn't work very well! The wheels couldn't be locked tight enough to keep it from squirming, and the X-brace legs had enough slack that they wobbled around as well. I thought I was going to have to build a base, but then my eyes fell on this metal band saw base that I had in the shop:

The right height, and very sturdy! I conferred with Bruce and the other leaders at Make717, and we decided to go with that plan. I found a "tool table" on sale at Woodcraft that looked to be the right size, and ordered it. (Link)
Once it arrived, I found that it was perfectly sized. It only took a little modification of one rail to clear the woodworking vise, and all was well.

All that was left was to put a finish on the top. The article in Woodsmith didn't specify which finish they used. I emailed them with that query, and to their credit they responded right away with this product: General Finishes Arm-R-Shield (Link).
It's not available locally, so I had to order it. It turned out to be rather difficult to use. In fact, the can offered the useful tip that if the finish had streaks after drying, you could sand it off and try again! I did that about six times, and gave up and sprayed a finish instead. The MDF, with its smooth, featureless surface, was just too unforgiving. I will say that the Arm-R-Shield looked great on the oak edging, so I'm sure it will be good for any solid wood projects.
All in all, an interesting project to build. I'll deliver it this week!
Awesome work and it's even better close up.
ReplyDelete