
The other day, Bob sent me this picture, and asked if I could fix that worn, out-of-round hole in the fan:
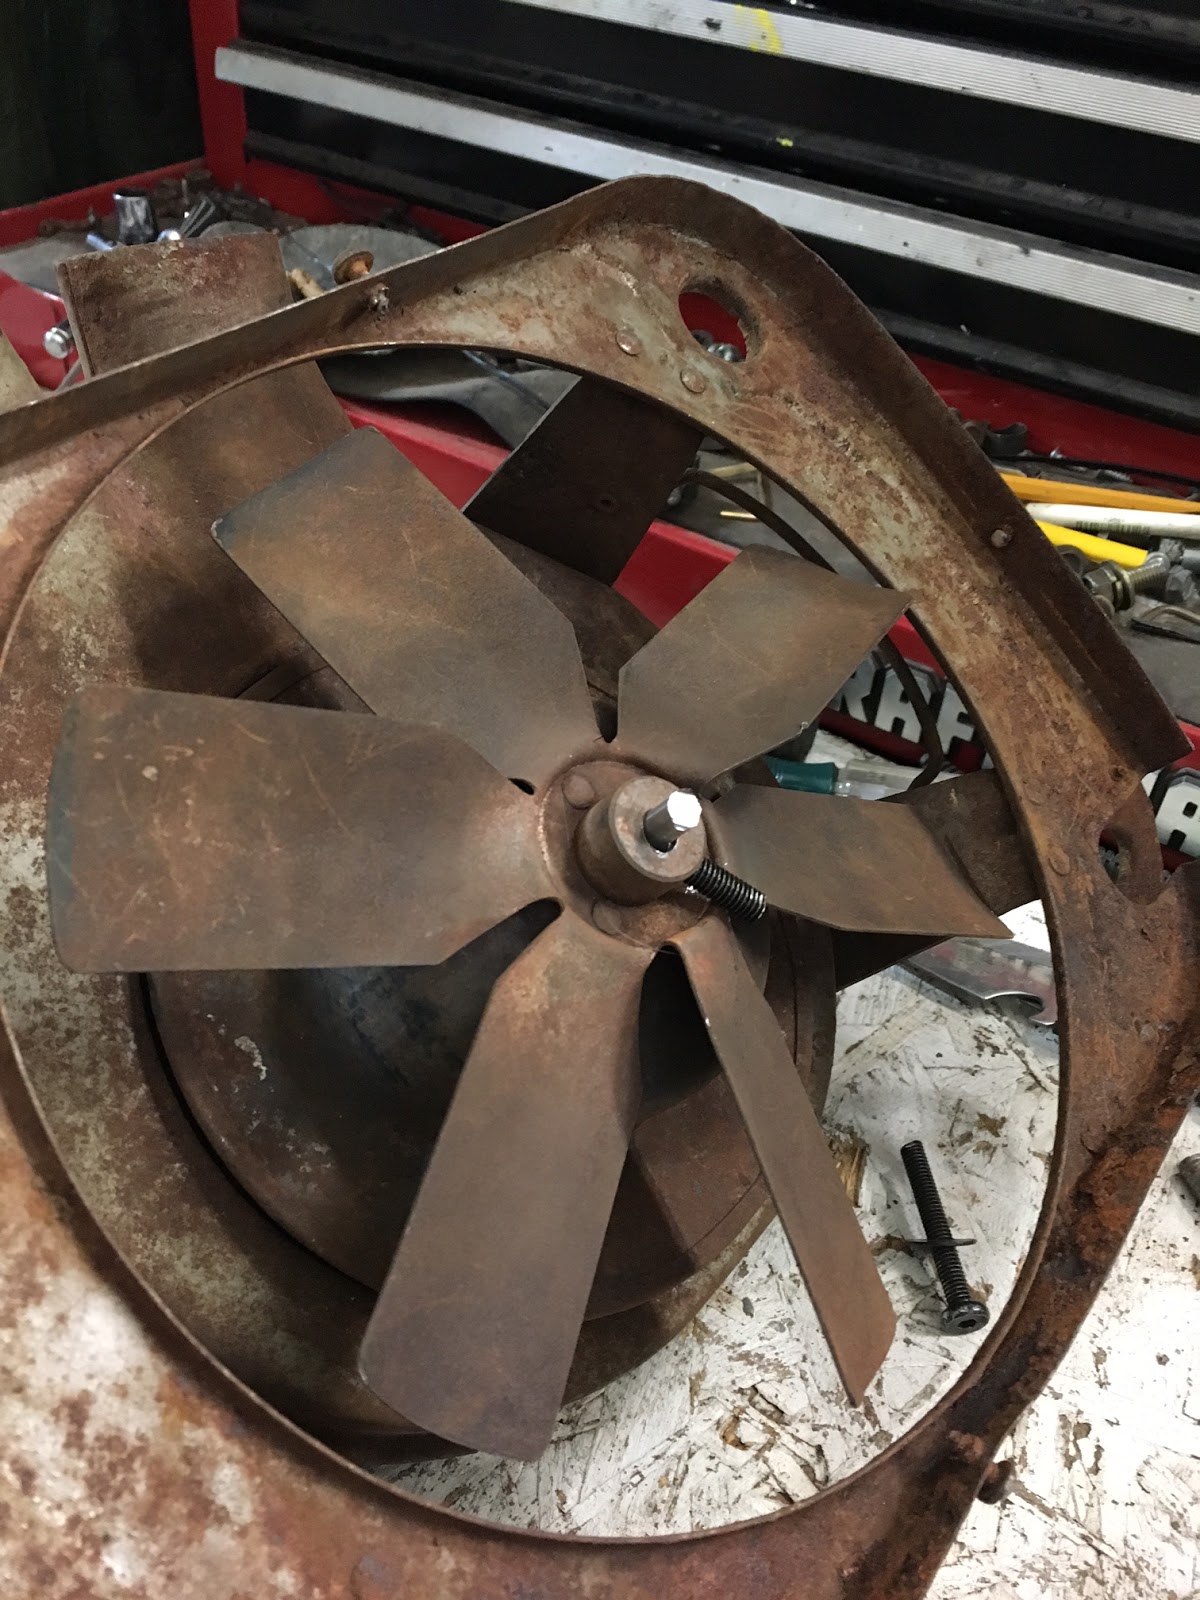
I must have been feeling brave that day, because I immediately said, "I can fix that," and proposed some electrical work I'd like to have in trade. Bob sent the fan via his father, John Zimmerman, and I got a clear look at what I had signed up for. I asked Bob what it came from, and he said it was a mid-40's vintage Ford fan for the heater and defroster. It's not as big as I first imagined:

However, that hole was really oval:

You can't tell from the pictures, but the face of the collar was also seriously out of square with the base of the fan. I conferred with Bob, and we agreed that I should make the hole square to the collar, and they would deal with straightening the fan. I removed the vise from my milling machine, and set about clamping the fan to the table. First, I used existing t-nuts and bolts plus a pair of aluminum collars to make a couple of pins to locate the fan on the back side:

These were installed on the mill table, and the fan butted against it. Then began a long, frustrating process of trying to shim the fan level at the face of the collar. At first, I was using a micrometer, but that wasn't working at all. I finally decided to use a precise digital level, and I leveled the fan in both X and Y directions:

Of course, every time I tightened the clamps, it all changed, often a lot, and the fan itself was so flexible that a little pressure would change it too. I finally settled on this setup, trued to a half-degree in each direction. That's much better than it was just sitting on the table:

In that photo, there's a 1/4" drill in the hole, to ensure that I had properly aligned the spindle to the table. Bob had included a short piece of stock from the old motor, and it measured 1/4". The drill bit didn't touch the edges of the hole in any direction! That sucker was flat worn out.
I started drilling, increasing the size by only 1/64" at a time to avoid putting too much stress on the fan. I finally got a round hole at 11/32". That's 0.344", so the hole was worn by over 90 thousandths. That is huge!
Once the hole was drilled, I cut a piece of 3/8" steel rod and turned it to 0.344 on the lathe. Then I drilled it, finishing by reaming the hole to exactly 1/4". That is serious overkill for this application, but it made me feel better doing it:

Incidentally, after taking that picture, I coated the reamer with oil, and also slowed my lathe speed to its slowest setting.
The sleeve fit, but there was another problem - I needed to drill it to allow clearance for the set screw that holds the fan on the shaft. You can see the threaded hole in the collar, with the bushing stock sticking straight up.
Normally I'd drill a hole like that in the mill, but I didn't want to disturb this setup in case I needed to do more work. I used my recently completed screwholding fixture (link) to shorten a screw, and then I ground a point on it. I used that to mark the spot to drill on the bushing:

Once it was marked, I put the bushing in a collet, and mounted it in a collet block in the milling vise. I took that to the drill press and drilled the clearance hole:

Once that was done, I had a pretty official looking bushing!

I put the bushing in the fan, and secured it with medium-strength Loctite. I reasoned that I might need to get it back out some day, and the set screw would hold it in place anyway. I made sure the clearance hole was aligned using the screw, and left it for the adhesive to cure. Now Bob's friend has a ratty old fan with a nice new steel collar in the center!

I don't know how long it would take a real machinist to do all that, but more than 10 minutes. It took me four hours. Goes to show why restoring an old car can be so expensive - this could easily have been a $500 ratty old fan if Bob had paid a pro to do it. I sure hope it works...
No comments:
Post a Comment