
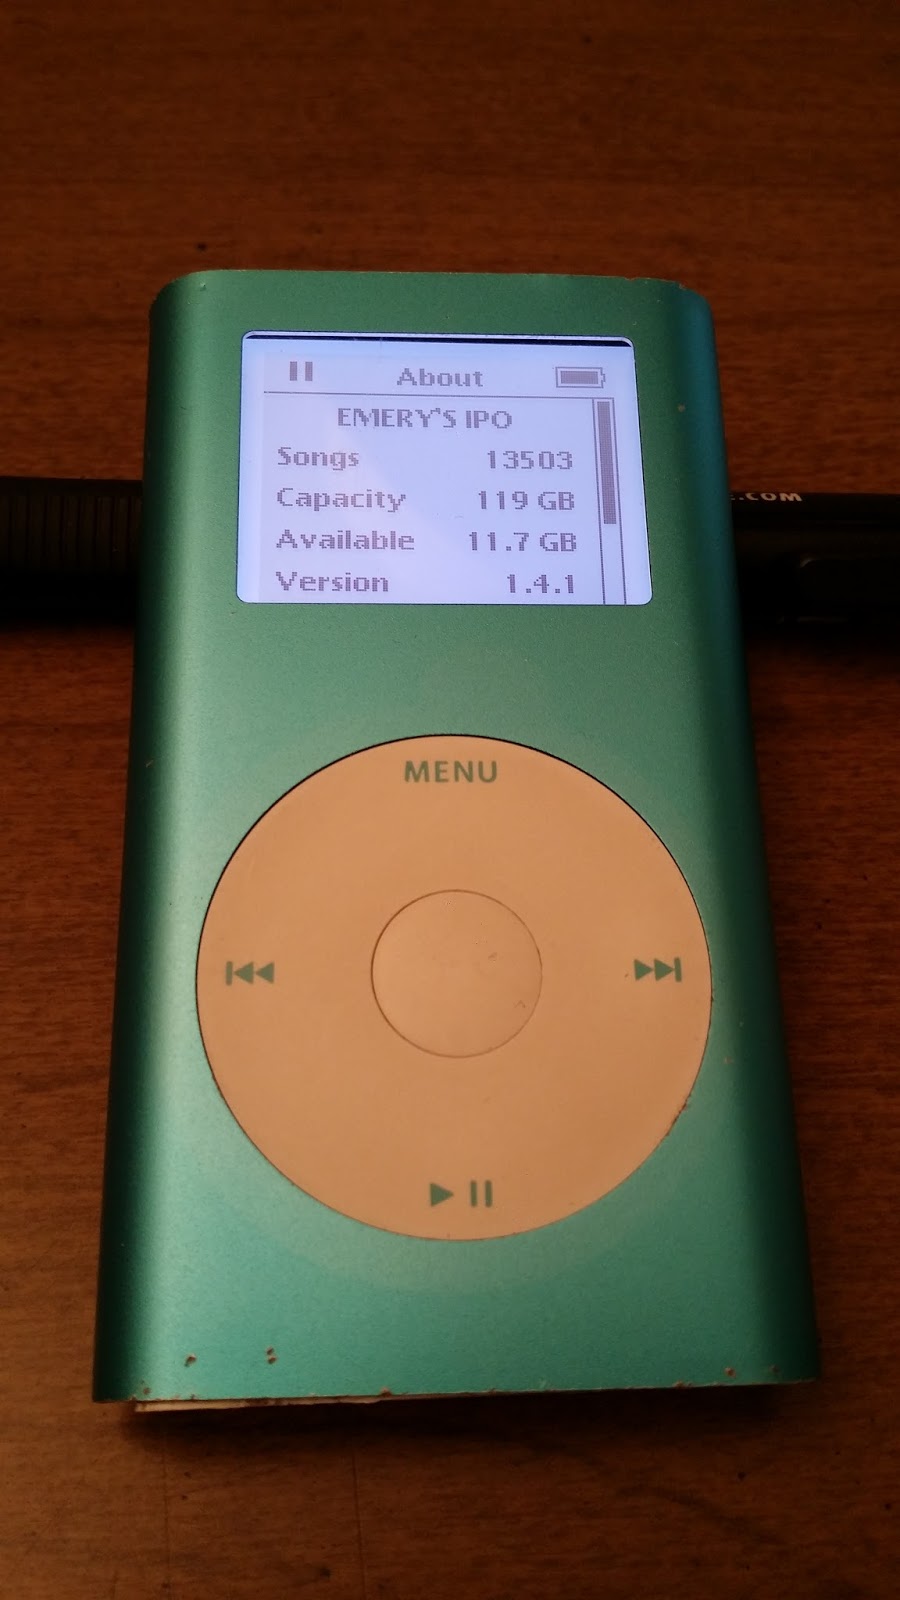
If you click that photo to enlarge it, it's easier to see on the screen that this is no longer a 4 GB Mini - now it has 128 GB!
I already have 13,503 songs in it, with another 11+ GB to fill. These units are easy to find on eBay, and adding a new battery and a larger memory is pretty easy.
First, I want to give a real shout-out to an eBay vendor who goes by "skins247" but whose real name is Mike. He had one of the best prices on eBay for a Mini (I paid about $30 for this one), and had already installed a new battery. After buying, I sent him a message saying I planned to upgrade the memory, and that started an exchange of messages (6 or 7 in total) where he held my hand the entire way.
Absolutely stellar customer service - Mike has really earned his 100% positive rating on eBay! I strongly recommend you buy from him if you try this project. This link will take you right to his profile:
There are several YouTube videos on doing this upgrade, but the basic idea is this: gently pry the white plastic caps off each end, remove the steel plate at the bottom, remove two tiny screws at the top (I used a #000 Phillips bit - they are little!), and very gently remove the ribbon cable for the click wheel. The "guts" can then be slid out, leaving a pile like this:

I have the guts face down in that photo, so you can see the already-replaced battery, and the 4 GB Compact Flash (CF) card for the memory. Unplug the battery while working on the CF, just in case.
The little steel clip at the bottom end is easy to remove once you know how. Using a small flat screwdriver, gently pry the lower two corners, releasing the springy corners from the slots. It then will just fall out.

I wasn't sure how big a CF card would work for this upgrade. Mike uses 32 GB (you can buy a Mini from him already upgraded if you'd rather go that route), and I had seen a video for 64 GB. I decided to go for broke and spent $99 on a 128 GB card at Amazon. I removed the old CF card by gently (I keep using that word!) releasing the Molex connector on the ribbon cable at the circuit board. Here's the old card and the new one side by side:

I once again conferred with Mike to ensure I was doing this right. There's a standard CF buried in that packaging on the left. You just release the tape and remove the cable, and install it on the new card:

Mike strongly suggested I test it before putting it all together. I did so, but it was a little scary - that fragile ribbon cable for the click wheel is easy to damage. Here's my test photo. The pink paper was just to isolate the CF card from the circuit board. In retrospect, it would have been better to pass the iPod cable through the case and plug it in before attaching the ribbon cable, but this worked fine too.

It sure was gratifying when iTunes started up and prompted me to restore the system software to the iPod! For whatever reason, I had to do the process twice, and the second time, it came up and reported it was a 128GB iPod. Yay!
Also at Mike's suggestion, I didn't try to reuse the blue rubber case from the old CF card. He told me it made it very difficult to reinstall the guts. Instead, I cut a piece of thin cardboard to fit, and attached it with electrical tape.

Once it was all back together, I selected a big pile of music to sync. It took about three hours to transfer 100 GB of tunes. Of course, my music library is so insanely big that I felt like I was having to make hard choices of what to leave off the iPod. Next time I do this, I'm gonna splash out for a 256 GB CF instead! But for now, this was a very satisfying result:

No comments:
Post a Comment